Thursday, April 25, 2013

Rory's Big Girl Room Makeover

A Pink & Yellow bedroom for my little princess ;)


Eli was only 6 months old when we found out we were expecting Rory.  Talk about a shock happy surprise ;)  Eli was obviously still calling the nursery home...we hadn't had a reason to evict him from his green walls and jungle animal bedding crib.  That was about to change, notice served little man...time to move out!!

We moved Eli to his new room a few months before Rory's arrival. I got lucky and found bedding I loved that was pink and green, which meant I didn't have to paint the nursery walls to convert the gender for our little lady!

Those of you that know me might find it strange that I didn't want to paint... Truth be told, I had just painted the kitchen, entryway, Eli's new room and was starting on the living room (which I finished the week I went into labor) so I had hit my limit for pregnant painting (plus, I'll save pregnancy brain's impact on my color selection process for a humorous post later).

Back to our big-girl bedroom story... Here are the pics I have of nursery after the conversion for Rory's arrival...


Shortly after Rory's 2nd Birthday, we were looking at switching her to a big girl bed.  Our kids are both so tall that we bypassed the toddler bed business and went straight to twin beds for each of them.  I had 2 items that inspired the direction that I took with Rory's room.  The first is this vintage painting that I found on a garage sale.  I just loved all the colors in it. 


The other is this vintage chenille quilt coverlet.  It's insanely pretty.  Pictures don't do it justice.


I had found a vintage chenille quilt, very similar to this one, on ebay.  Sadly, I was out-bid at the last minute.  Grrr! Being the crazy that I am, I contacted the seller and convinced her that I NEEDED another one, so she had another produced in about 10 days and sold it to me.  Yep, I get a little crazy, once I get my mind set on something. 


Rory's favorite color is pink.  Pink anything and everything.
However, I was not about to paint her walls pink.  NO WAY!
Her second favorite color is yellow...and not only can this momma handle yellow, but I had a vision of using yellow to tie the different elements I had found all together.  AND, just in case her love affair with pink is short lived, I'm not over committed to a room that, "looks like it's been hosed down with Pepto-Bismol."


Though I knew I wanted to try a stripe, I wasn't sold on how many stripes I'd be able to stomach.  I didn't want to over-power the room.  However, once I had one wall striped, I knew it added an awesome level of detail, and kept the overall tone of the room young and fun....a few hundred hours later and all four walls were done (striping = tedious, but SO worth it)


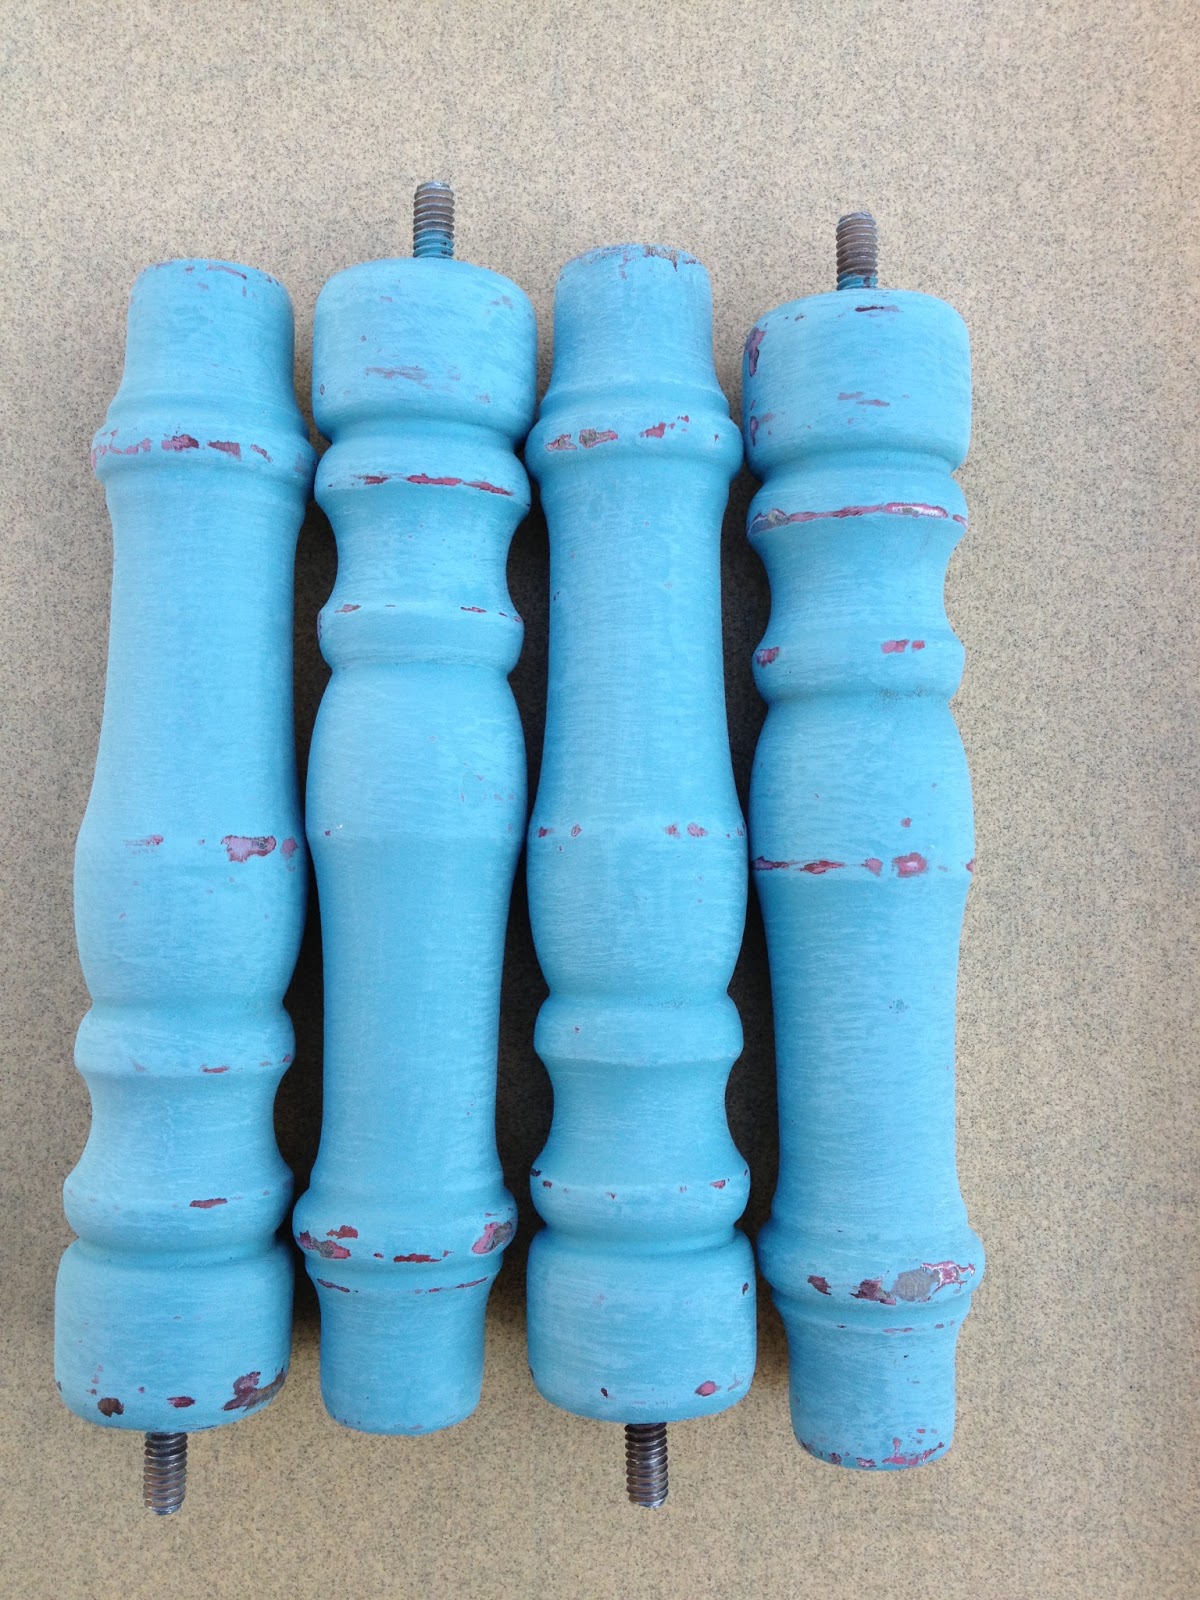
The mini-dollhouse bookcase was a moving-sale score.  Just a quick paint update to refresh the color before it took it's place in it's 2nd home.


Leave it to craiglist to inspire a big-girl bed makeover too.  My hubby was a little terrified when the dated, brass headboard showed up in the driveway.  A couple cans of Rust-Oleum, Oil-Rubbed Bronze spray paint, and a can of spray-on polyurethane made quick work of my headboard transformation.  I love the detail of a metal headboard.  It serves as a strong anchor to a very soft, feminine little girl's room...and the color contrasts nicely with the light colors of the room's palette.

Wednesday, April 10, 2013

Teal Spindle Side Table


I found this gem at a garage sale.  It was beat up, wobbly, and had an awful faux paint job.  Ick!
Here are the before pictures...


 It also had a very dated stamped pattern on the sides.  Even if the pattern could be salvaged (yeah, really not an option for me) one side was missing.....


So... I pulled it all apart and started over.


I pulled the sides off and cut new ones that didn't have a yucky pattern on them (welcome to 2013 Mr. Table) I glued in the new sides and tightened everything back up so it wasn't wobbly.  I primed all the pieces with a dark brown primer, so when I distressed with sandpaper, the brown would show through.  Then I painted them teal. 

  I distressed (150 grit sand paper) and then sanded smooth (220 grit sandpaper) the finish so that it could be waxed.  I used Annie Sloan Clear Wax. 
 

 It is a really pretty shade of teal, but still a little bright for my taste, so I decided to add a little dark wax. I added dark wax to the grooves and corners to give it more of an aged look and it toned down the teal, just enough. 


All Finished!


 A little of the brown and red paint peeked through where I distressed it more than planned.  I was trying to avoid this by using the brown primer, but I ended up liking how it looked and distressed it so more red showed through.

A delightful accident. 

Wednesday, March 27, 2013

Emerald Green

Emerald Green... The color of 2013, according to Pantone... Hmmmm.

I must admit, when I read this a few months back, I was like "really, REALLY?"  I'm not usually a "jump on the trend bandwagon" type of decor person, but after painting with it, I get it.  It literally made me smile :)   Plus... It's gender neutral!  Who doesn't love that? Here it is, finished.  It looks amazing with Rory's vintage chenille comforter.  


Starting at the beginning, where emerald green entered my life/home color palette.  I found a $3 framed vintage floral picture for Rory's (my daughter) bedroom makeover.  I ended up pulling the colors from there.  I didn't have emerald green anywhere else in the room, originally, but I LOVED how it looked on the yellow striped wall!  Sometimes decorating accidents are wonderful.


I liked the green so much that I couldn't resist adding a few more touches of it throughout the room. (Side note: I'm not done filling all of the frames. Eventually, right? Ha.) 

This week, on my monthly trip to the estate disbursal store (EDS), I came across a cute little step stool.  (Side note:  with two children under four running around, I've come to view having a step stool near every room as a necessity, and I can barely tolerate the one plastic chauncey one that we already have downstairs)  

Since Rory has a hard time getting up into her big girl bed, being 2 years old and all, we needed to give the little one a boost.  This one stylishly fit the bill for $3...


I decided to paint one more frame on that wall emerald green.  I found an oval frame, also at the EDS for $4, a few months ago.  It was gold in a past life. I primed it with spray paint primer and then emerald green chalk paint. Here is the before of both the step stool and the frame.  
 

Two coats of emerald green chalk paint.  I made the chalk paint from a $3 sample from Menard's.  I'll talk about my love affair with chalk paint in another post.  


Then I sanded and distressed with 150 grit sandpaper.  Then 220 grit to make a nice smooth finish.  With a vacuuming and a wipe off with damp paper towel, we were good to go.  I just had to let it dry before I could wax.


Not going to lie, the color was a little scary freshly sanded, but I knew the wax would get us back to a happy place.  You can see that I've waxed the bottom and not the top portion. 

It didn't quite have the dimension or antiqued look I was after, so after the coat of clear wax, I added wood stain the wax on a paper plate and mixed it.  I used that to put on a second coat of wax.  let it dry and then buff off until the clean rag doesn't pull stain color off anymore.  It shined up nicely.  


Saturday, March 9, 2013

Easter Mantle

I created an Easter mantle this year. I usually just do a "spring" mantle, but...

 It all started when I scored a huge amount of plastic speckled eggs on a garage sale site.  I bought 10 boxes of 16 for $6.  I knew I HAD to make an egg wreath for next year.  Eight months later, I finally got to use them...
 I hot glued eggs to a styrofoam wreath form and then I took some burlap ribbon (the kind with rough edges) and shoved it in between the eggs to fill in any major gaps.  It looks like grass from a nest. 

 I found the blue milk can at the Habitat for Humanity Home Store for $1, the green wire basket at Goodwill for $1, the burlap is a random scrap. 
 The candle holders are both consignment finds for less than $5 each.  I painted both with Annie Sloan Chalk Paint and distressed and waxed. The boxwood topiaries are from save-on_crafts.com.  They were a splurge for me, for sure, but are very beautiful in person and will get a ton of use.  Warning: This website is super addicting! I just hope my Hubby doesn't read this and go see how much they actually cost vs. what I told him ;)

The cheese box was a vintage find for $6.  I had the flowers down in my craft room and I just sort of scattered my leftover eggs. 

Tuesday, March 5, 2013

Wooden Basket Updated

My first official blog post!  


I found this basket at the Goodwill Home Store.... Hello 90's.  I got ahead of myself and forgot to take a beginning picture.  Here I have already sanded it and started to stain, but you can see the "lovely" before paint job.  I gave it a good sanding so that all of the paint/ decals were flat.  They were surprisingly hard to sand off.   
 Then added stain and let it dry.
Then I gave it 2 coats of Annie Sloan Chalk Paint in "Pure White". I wasn't super particular with the paint, because I planned to distress it later. 
Then I distressed with 150 grit sand paper and then 220 grit for a smooth finish.  I vacuumed it off and put on a coat of wax (I use Annie Sloan clear wax) and let it dry and buff to a shine.  
Now it's a cute little caddy you could use in the bathroom, for toys, or with greenery.  Endless possibilities!